Almost one year ago I pinned a bottle cap magnet idea onto Pinterest which I found on ETSY. Then today I was perusing the Duck Store's website for Christmas gift ideas (it's never too early to plan ahead for Christmas!) and came across these MAGNETIC BOTTLE CAPS which reminded me of the Etsy pin. Now on Etsy's website, you don't get any tutorials there...it is simply a market place to purchase handmade items and a variety of others goods. So here is my tutorial on how to make these fun magnets. Or how I think they should be made. Obviously since my husband and I are duck fans my theme is from the University of Oregon, but you could print off any personal photos you want! So, here we go!
What you'll need:
- Bottle Caps (as many as you want, I stockpiled ten from some beer hubby had consumed)
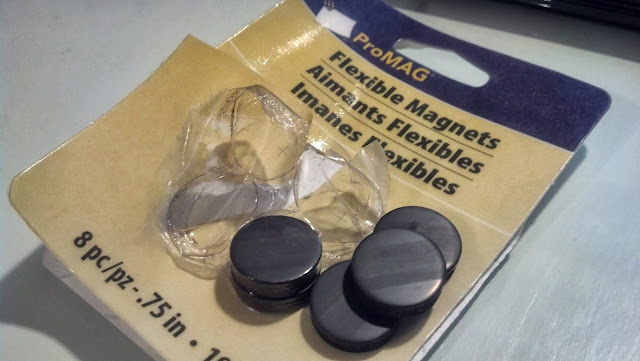
- Magnets (I used the ProMAG 8pc Flexible Round Magnets, .75in., though you could purchase the magnet strips which can be cut to any size)
- Mod Podge or some type of resin or adhesive (I used my HomeMade Mod Podge)
- 1" Hole Punch
- Scissors
- Thin paint brush
- Hot Glue Gun
- Printed Photos
- Plastic Spoon
Step 1: Prep your bottle caps. No one wants to smell old beer from a diy project so make sure to thoroughly wash 'em. Let them dry completely.
Step 2: Print off photos that you'd like to use. I found some photos from the internet and printed them onto regular paper at the smallest size possible (I think it's called "contact sheet size").
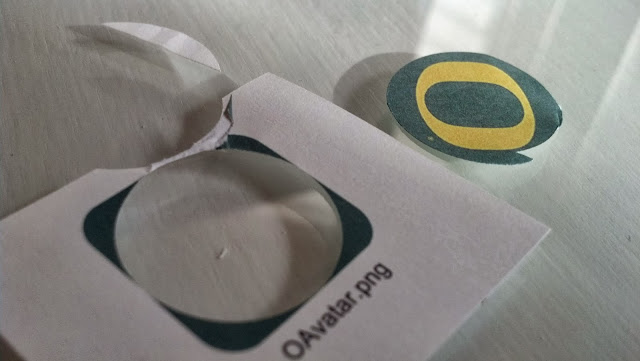
Step 3: Take your 1" hole punch and position the photo where you want it and press down. Depending on the size of the photo, you may end up cutting some of it off. There was only one photo which I ended up not being able to use. Below you'll see that I flipped the hole punch upside down to make sure I had enough room. On the first try the hole punch didn't cut all the way through so I had to reprint and use my scissors to clean it up.
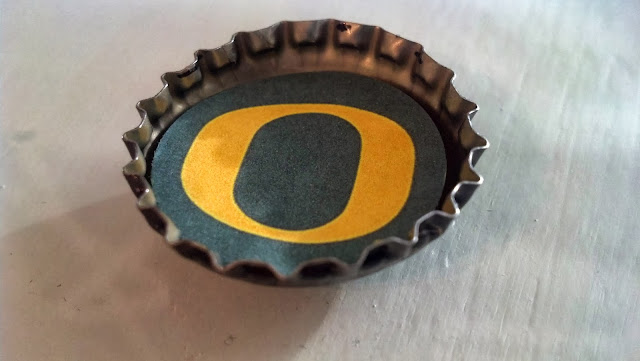
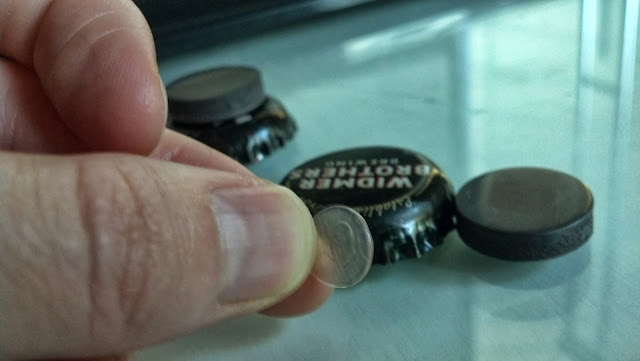
Just as I thought, the hole punch was a perfect fit inside the bottle cap!
Here are all of my photos I ended up using.
Step 4: Using your paint brush, paint the mod podge onto the back of the photo and place the photo inside of the bottle cap. Then fill the bottle cap about halfway full with mod podge over top of the photo. Let dry. The mod podge is excellent because it is both a glue and sealant. And don't worry, it will dry clear. Don't forget to use your paint brush to stamp out any bubbles.
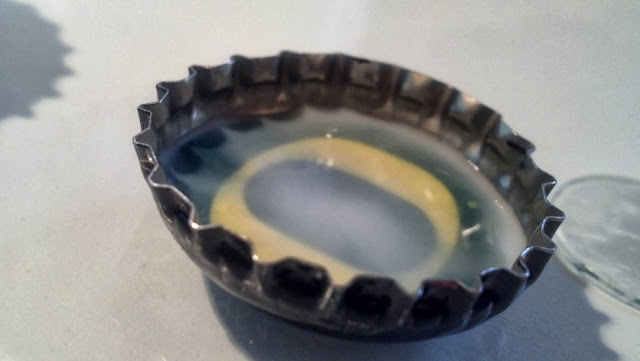
At least I hope it dries clear. Here is where I used the plastic spoon. After trying to fill the caps with the paint brush, I decided to get a plastic spoon to fill a bit quicker.
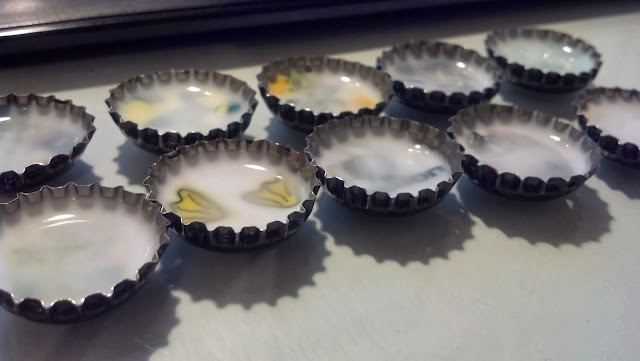
Then after an hour when it wasn't dry in the slightest, I drained out the excess from each cap. Some of the ink bled onto the mod podge so I tried to get rid of some of the ink.
As you can see, the mod podge dried clear and vintaged out the photos with a worn look. If I had used less though, the colors would not have mixed and would have been much more crisp and clear. So it just depends on what look you are going for.
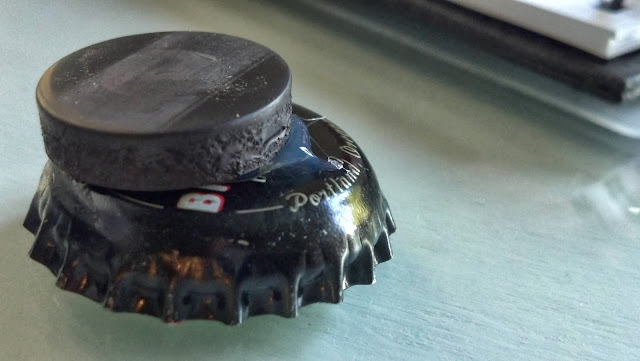
Step 5: Take your hot glue gun and glue the magnet onto the back of the bottle cap. The glue will dry and harden within about 1.5 seconds. I used the ProMAG 8pc Flexible Magnets, .75in.
If you aren't fast enough with getting the magnet onto the cap and positioning just right, this might happen.
Or even this...
Good thing I was able to get the magnet off after the glue dried (it was a bit of a struggle) and then I just peeled off the glue for a redo.
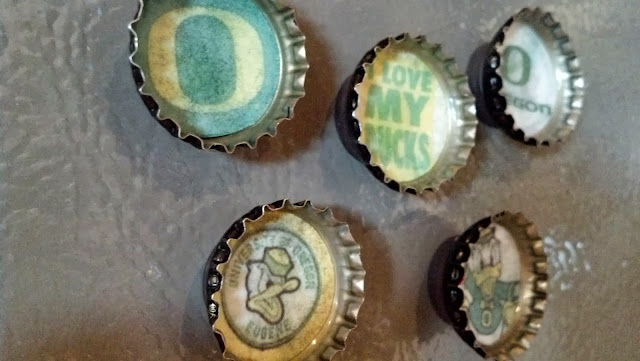
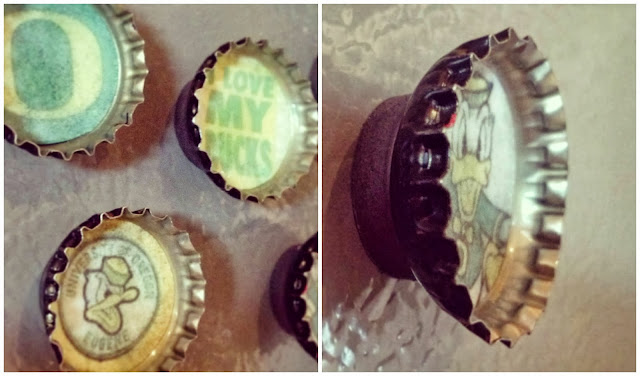
Here is the end result.

Overall I really like the vintage look! Comment below if you have any questions about the project. Thanks!







I love these! I just may have found a Christmas gift idea! Thanks
ReplyDeleteYou're welcome Laura! Enjoy!
Delete