Ok, it is about time that I share with you the recipes for the desserts that I made for our Ugly Mug Exchange a few weeks ago and all that I learned in the process. Amazing and awkward, check. Hope you get a chuckle.
Pretzel Treats
Ingredients:
- Bite-size, waffle-shaped pretzels
- Hershey's Kiss or Hershey's Hug
- M&M's candy
Instructions:
- Heat the oven to 170F. Set a number of bite-size, waffle-shaped pretzels (one for each treat) in a single layer on a cookie sheet lined with parchment paper, then top each pretzel with an unwrapped Hershey's Kiss or Hershey's Hug.
- Bake for 4 to 6 minutes (the white chocolate will melt more quickly), until the chocolates feel soft when touched with a wooden spoon. Remove the cookie sheet from the oven and quickly press an M&M's candy into the center of each Kiss.
- Allow the treats to cool for a few minutes, then place them in the refrigerator to set, about 10 minutes. Place handfuls of the candies in clear plastic bags and tie on colorful ribbons.
Homemade Gumdrops
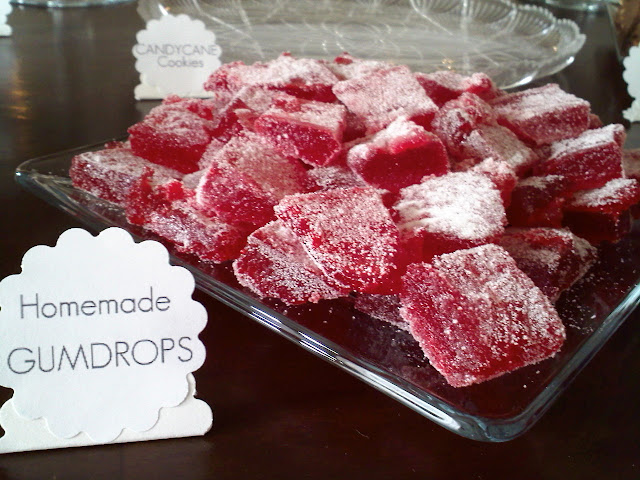
I must say this dessert was one of those which I vowed to never make again. Don't be fooled , it was not fast nor easy. But, I was told the gum drops were tasty. So, I guess it was a winner. Still not sure whether it was a "make it again" dessert but I guess for now I'll hang onto the recipe.
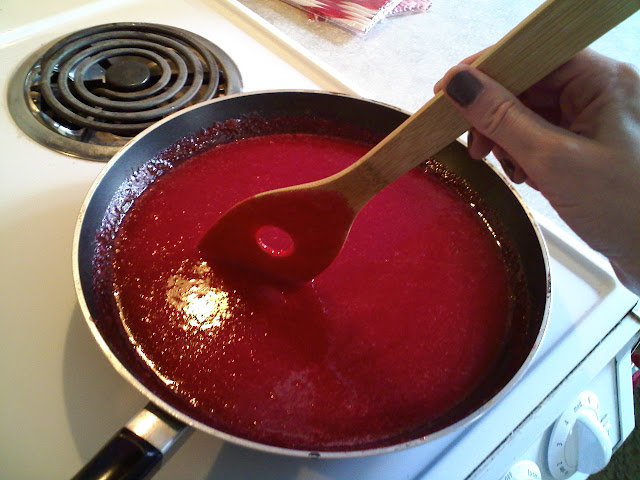
In fact, I only got so far as to take one photo because I was so angry with the whole thing.
Why so angry you ask? Let me just share with you what I learned.
When the instructions say to pour ingredients into a cold pan coated with nonstick cooking spray, it would be wise to put a layer of wax paper underneath. I let the pan refrigerate for a few hours as directed but once I tried using my spatula to loosen the gelatin from the pan, it was a NIGHTMARE. You can't just "loosen" the gelatin. It was GLUED onto the bottom of the pan. Sigh. At this point I began yelling and proclaiming to my husband that I'll never make these gum drops ever again! Dramatic, yes. Continuing. While using the spatula to get the gelatin out of the pan, the gelatin then folded over the spatula and stuck to itself! And I mean STUCK. Really? REALLY??? This was only the beginning.
Once I managed to get the gelatin onto the wax paper, the next instruction was to cut squares. Yes I dipped my knife into hot water, but did that help? NO. The gelatin stuck to the knife and it was uncuttable? That's not a word, but I'm keeping it there. Again, the proclaiming continued.
Just as the directions stated, I placed the gelatin on the waxed paper and let it dry at room temperature for 8 hours. Roll in remaining sugar. Oh sure, just roll. Again, the gelatin pieces were STUCK onto the wax paper. What I SHOULD have done was put sugar on the wax paper to begin with and then it would be easy to roll the rest of the pieces in the remaining sugar. Sigh.
At the end of this dessert my blood pressure was sky high and I was red in the face. Sigh.
Peanut Butter Reindeer Cookies
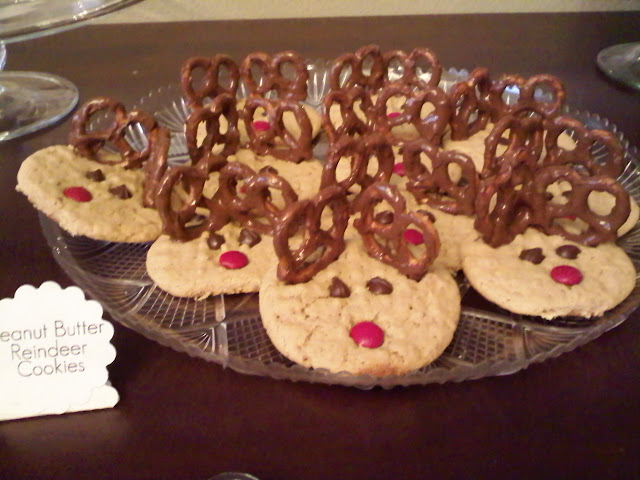
Initially I wanted to make each dessert from scratch, but I was running out of time and patience. So, I bought a peanut butter cookie mix and baked the cookies.
While the cookies were baking, I melted some Hersheys chocolate bars on the stovetop. My goal was to dip the pretzels while the cookies were baking but the cookies were done before I was done dipping. Oh well.
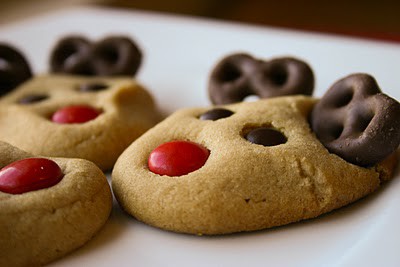
Cookies were removed from the oven and immediately I pressed two chocolate chips into the cookies for the eyes and one M&M for the nose. While the cookies were semi warm I finally finished dipping the pretzels and pressed them into the tops of the cookies for the antlers.
Can't Fail Fudge
This recipe, I believe, is from my Mom. I'll have to double check with her on that one.
Ingredients:
- 4 c miniature marshmallows
- 2/3 c evaporated milk
- 1/4 c butter or margarine
- 1 1/2 c sugar
- 1/4 tsp salt
- 2 c semi-sweet chocolate pieces
- 1 tsp vanilla
- 1/2 c chopped nuts
- Combine marshmallows with milk, butter, sugar and salt in sauce pan. Cook until mixture comes to boil.
- Boil 5 minutes over medium flame, stirring constantly.
- Remove from heat and add chocolate pieces, vanilla and nuts.
- Beat until mixture is well blended. Pour into greased 9" square pan.
- Chill 'til firm.
Santa Brownie Hats
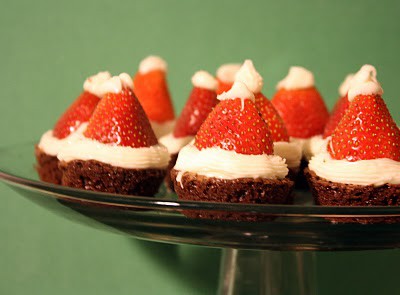
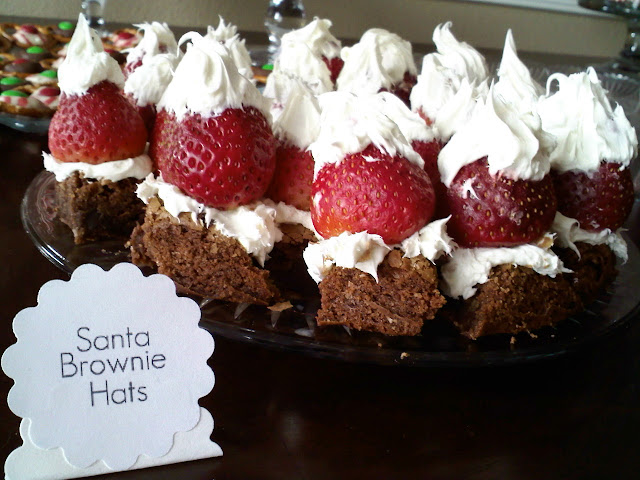
Just for the record, I did not even read the instructions from the blog link above, but wanted to share the source of the picture. I simply baked brownies from a box mix (again, trying to save time), spread on a layer of vanilla frosting on top of the brownies and on top of the strawberries. Super simple!
What I should have done though was bake the brownies in a mini muffin tin so they would come out round. The Sweet Tooth author piped a ring of melted white chocolate around the base of the brownie and a small dot on the top of the strawberries.
I think I was over zealous with the frosting...pinterest fail!
Overall, I heard some good reviews from the desserts but I'm not sure whether I would repeat all of these dessert and I would definitely not do all of them in one weekend...live and learn!
Have a great rest of the weekend! xoxo



Comments
Post a Comment