
NO-SEW PILLOW COVER + TUTORIAL

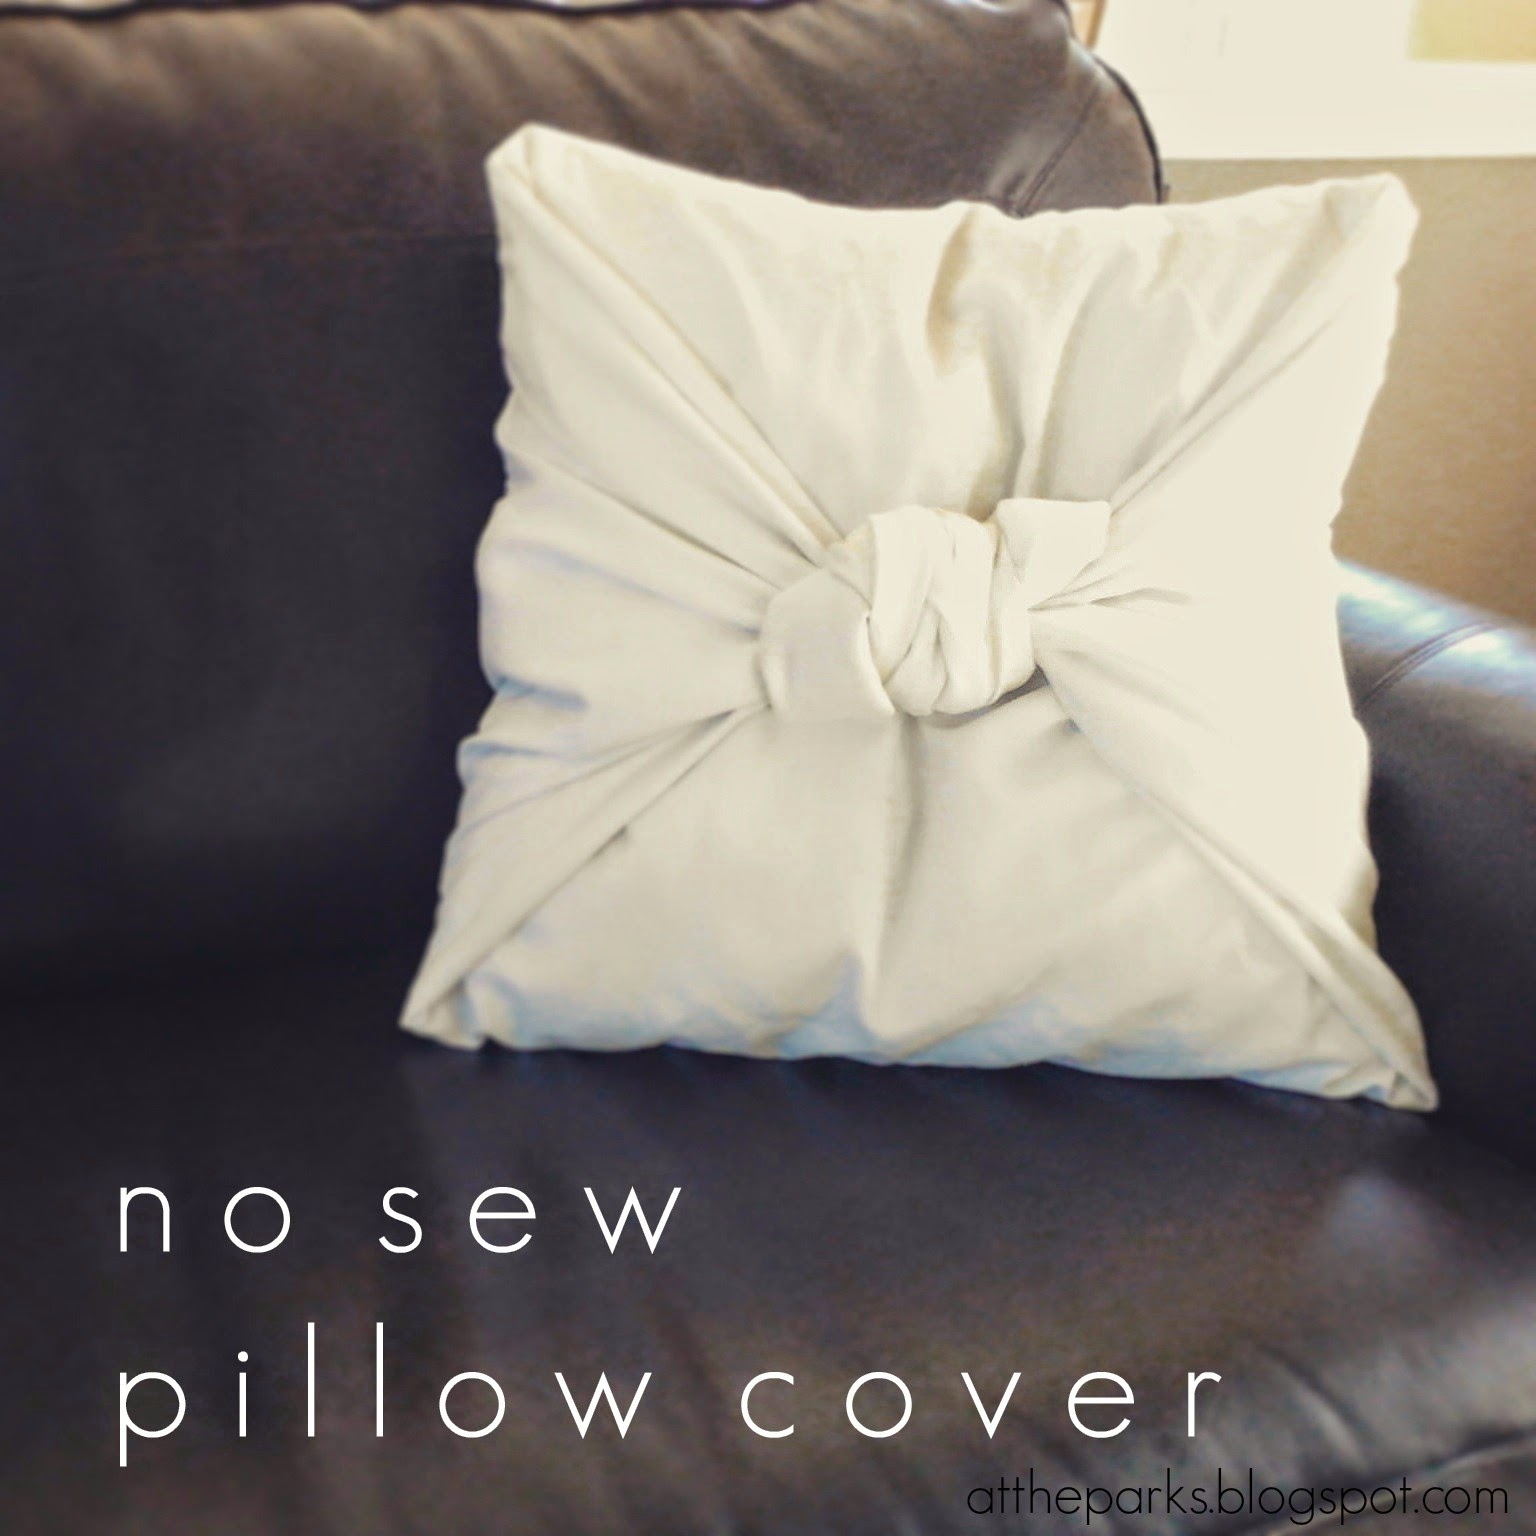
Like many of you I'm sure, I don't know how to sew.  Unless you count the shorts and tank top I sewed in home-EC class in the 8th grade, my skills in that department are lacking.  So, when I found the no-sew pillow cover option (here, here, and here) I knew I had to try it!  No-sew.  No-glue.  No-velcro.  No-button.  Super simple: cut, fold, and tie.


What you'll need:
  • Pillow (mine was 22" square)
  • Fabric (I used an old white fitted queen sized sheet)
  • Scissors or fabric sheers
  • Tape measure (optional)
Instructions:

Like I said, cut, fold, and tie right?  If you aren't using a fitted bed sheet, this will actually be as easy as it sounds!


Trim the "fitted" part of the sheet so that it is a simple rectangle.  Don't worry about measuring at this point.  Just get rid of the extra fabric.


Once the trimmings are gone, you'll want to start measuring appropriately.  The instructions here state you should use 2x the length of the pillow + a few inches, and 3x the width of the pillow + a few inches.  My pillow was 22" square so I ended up using 50x64 1/2."  The measurements were still too large (you'll see what I mean) but I didn't worry about it.  It's better to have too much fabric than not enough!  Plus, I was impatient.

Lay out your fabric.  Iron if you must.


Place your pillow in the middle of the fabric.  Fold either the top or bottom to the center of the pillow.


It's a little further past center but not a big deal because it will be underneath the second fold over.  Fold the opposite side of the pillow now to center.


So...still not center.  Rather than cutting, I just folded under the fabric so that it ended up in the center.


You shouldn't see the fabric underneath because the front tie will cover it.

Fold and gather your end fabric pieces.


Fold both ends across the pillow.  It doesn't matter which end goes first.


Tie the ends in a square knot.


Take the fabric over-under, then under-over.


Tuck your ends.


Is there a wrong way to tuck?  Maybe.  Maybe not.

And there you have it.


I love that the fabric can be untied, washed, and put back easily.  Your pillows can now get a fresh update, or change with the seasons!  Enjoy!

Comments

Popular posts from this blog

DRESSER TURNED TV STAND MAKEOVER

Tonight, I am so excited to share with you what hubby has been working on for the last few months in his spare time.  Let me preface by saying that we've had our TV hanging on the wall above our fire place since we purchased it about a year ago.  And though I liked it there and it fit well, it wasn't exactly what I had in mind.  You see, while the TV is on and you're sitting on the sofa curled up in a warm blanket drinking hot tea, you can't have the gas fireplace running.  Not only do I use the TV for viewing movies and television shows, but I listen to a lot of music through it.  I love our fireplace but would love it more if I could use it!  So to solve that problem I was on a mission to find a nice TV stand. After searching online and finding a lot of great furniture options, I realized I didn't really want to spend any money.  We had a dresser gifted to my husband years ago that we were planning on selling or donating but I really wanted to find a new u

DIY HOMEMADE MOD PODGE

We all know how expensive Mod Podge is at the craft store, right?  And since there are so many projects which use it, I thought I could find a homemade version  online .  Love  pinterest !  This is seriously the easiest DIY project I have ever done. Supplies: A Jar (I rescued an empty Tostitos Creamy Spinach Dip Jar YUMMM which was on its way out to be recycled) Elmer's White Glue (I used two 4 fl oz bottles) Water Before I made the Mod Podge, I washed out the jar and spray painted the lid silver.  I also took off the label from the jar and did my best to get rid of all of the adhesive (first tried a paper towel and rubbing alcohol, but it didn't work and then I tried olive oil and it worked like a charm). Instructions: Empty glue into jar Fill the empty glue bottle with water and pour into the new jar with the glue  (Ideally, you want 50% glue and 50% water) Shake, Shake, SHAKE the jar That's it!  You have made homemade mod pod

TWO YEARS | remembering our miscarriage

We all have that day. The day when our world changed forever. For us, it was the day we lost our little one. I don't cry much anymore, but I remember. The pain isn't raw as it once was, but I will never forget. I remember the day I found out I was pregnant. The day I told my husband he was a daddy to be. I remember the dreams we had for this baby. Our hopes. Our plans. Our future. I remember our normally un-snuggly dog coming up to me and nuzzling her head under my arm pit, resting her head on my belly as if she knew there was a little life growing inside of me. I remember the prayers. So many prayers. We prayed every night for this baby of ours. For their future. For their health. For their life. The unbelievable love. The warmth of the sun and the smell in the air. I remember the darkness descending. The blood. The emergency room. The tests. The feelings of fear. The spoken words. The reality dawning. The unimaginable pain. The surgery. The pain isn't