If you have been on pinterest for any length of time and like anything burlap then I'm sure you have come across this beauty!?!
It is from Ballard Designs and a bit overpriced. $219.00 over priced. Not. Gonna. Happen.
For the office I wanted to mix up the fabrics and textures to create some interest in the room and felt like the burlap would be a great way to do that! Plus it looked like something I could do!
Here's what you'll need to make this little beauty:
- Any size of cork board (preferably with a wood frame)
- Burlap Fabric larger than board (or you could use some type of natural canvas or linen)
- Staple Gun (with extra staples!)
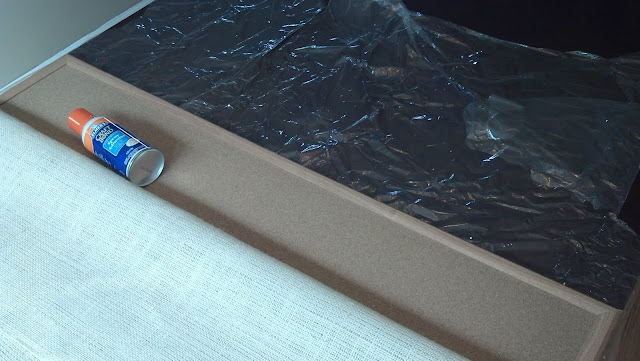
- Elmer's Craft Bond Extra Strength Spray Adhesive (or any type of fabric adhesive)
- Thumb Tacks (or you could use fabric nail heads like Ballard Designs did)
Step 1.
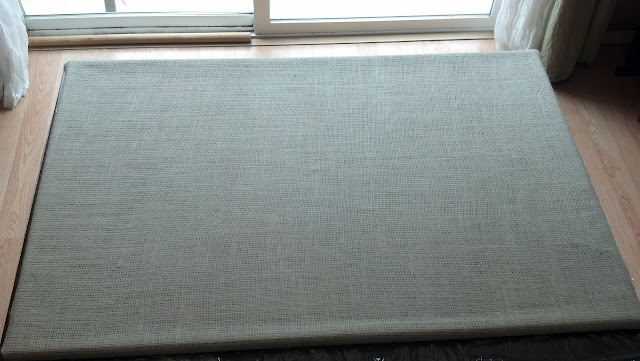
Take the plastic off of the board and drape your fabric over to determine how much needs to be cut off. I probably left 4" inches overhanging my board (which is excessive, you only need about 2"). Cut your fabric.
Step 2.
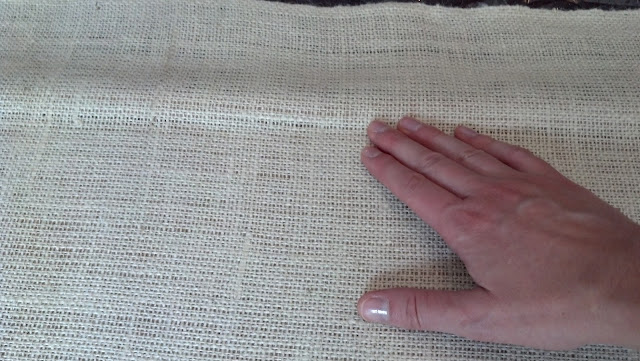
Iron the fabric to smooth out those nasty creases!
Side Note: I decided to keep the frame of the cork board to help me with placement of the thumb tacks but if you wanted to truly follow the BD product then you could take the frame off of the board. OR, get a cork board without the frame.
Aaah, yes. So much better! And the little wrinkles will come out when you pull the fabric tight to staple.
Step 3.
Place the cork board on the floor or on a table. I put mine over its plastic wrapping to protect my dining room table. Drape the fabric over the board but leave some room on the top to spray.
Immediately after you spray then fold your fabric back on top of the board and tightly press the fabric onto the board for good adhesion. This adhesive dries in 15 seconds so you need to be quick!
You could also probably use some type of a flat tool, say a ruler, to push the fabric into the corners.
Step 4.
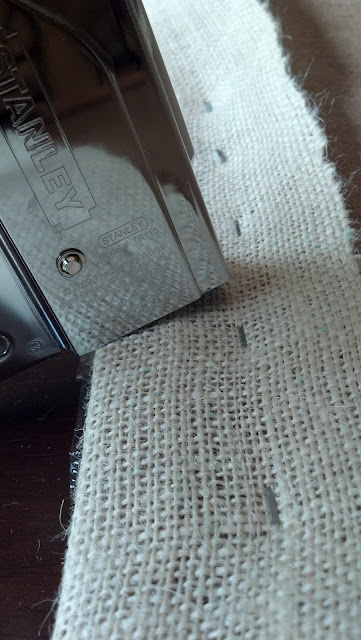
After spraying the first side, flip the board over and secure the fabric using a staple gun. Make sure to pull your fabric taut to avoid any wrinkles visible from the front.
I was very generous with the staples! If you use the Craft Bond then you can flip almost immediately and start stapling. If you use some type of a liquid glue then follow the directions for drying time on the bottle.
Step 5.
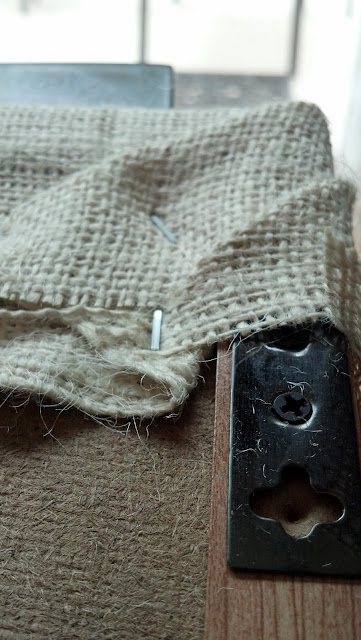
If you hang your board, make sure to cut your fabric so you can find the hangers attached to the frame.
To fold corners, I would go here for the step by step instructions. My corners are not real pretty. I tried to fold like I was wrapping a present. Exhibit A
Step 6.
Apply adhesive to the rest of the sides and continue stapling until completely secure.
Now onto the thumb tacks or nail heads.
I purchased three boxes with 150 tacks in each box. Overkill. You only need one box and had plenty left over.
Another side note: If you purchase nail heads then be prepared to hammer them in using a mallet. I used thumb tacks because #1 I couldn't find any nail heads and #2 they are super duper easy to use with your fingers!
Step 7.
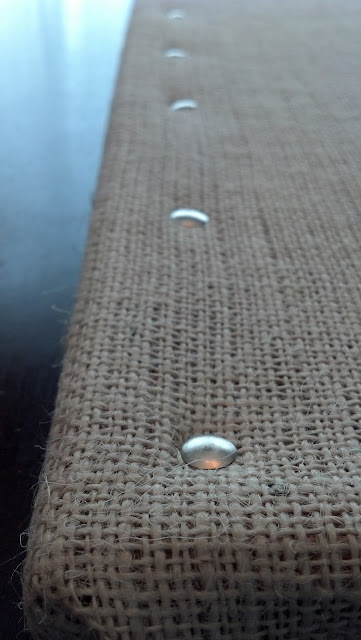
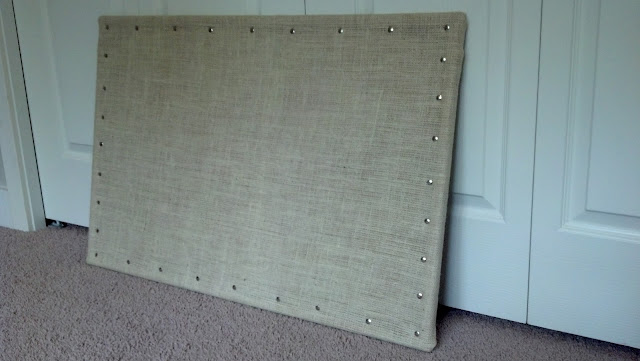
Place your thumb tacks into the cork board inside the frame. You could also secure them onto the wood frame but they may break and nail heads would probably be your better choice. You can space them however you decide. I eye-balled the middle of all four sides and then divided that middle again and again. You can clearly tell that the sides are not evenly spaced. I should have used a spacer of some sort or at least measured. However if time is not on your side then do what I did. Otherwise, measure measure measure!
I didn't realize until seeing this photo that the tacks aren't even straight!
I may go back and fix them in the future, but for now I am happy with the result.
Voila! What do you think of how my bulletin board turned out? Is this something you see yourself doing? Would you do anything differently to make it more your own style?
The project probably took me about an hour and a half, maybe two. Now all I need is for hubby to hang it on the wall! He is so good with placement and making sure something is plumb, level and square. :)
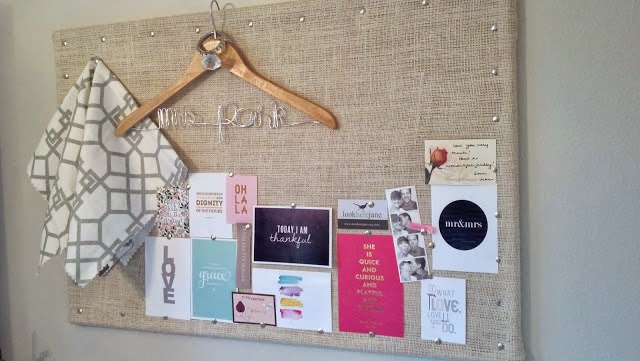
UPDATE: Here it is up on the wall!






Comments
Post a Comment